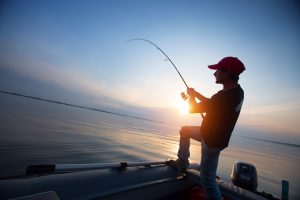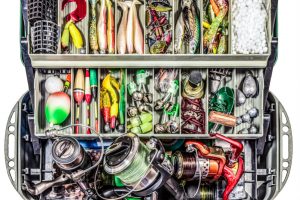

Tangled lines are one of the most dreaded enemies of anglers. Not only does it consume your time and energy, but it also loses your chances of catching fishes. Finding yourself stuck with tangled lines can be annoying, which is why knowing how to string a fishing reel is a must.
How to String a Fishing Reel
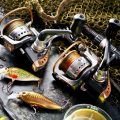
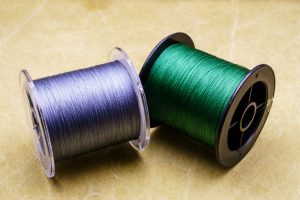
Changing your line at least once in every season can help you catch a bountiful of fish. In this article, we will show you different types of reels, their pros and cons, and how to change lines in the easiest and most effective way.
Spincast Reels
A spincast reel is considered one of the easiest reels to use. The mechanics are just simple enough to understand. Simply push the button if you’re about to throw your line and then just flick your wrist. That’s it!
This is the best reel to start with if you are a beginner or if you are planning to teach your children or friends.
The Pros:
- Inexpensive
- Very easy to use
- Lightweight
The Cons:
- Can only catch small fishes because the larger ones can damage it
- Not accurate
- Mostly made from white plastic or cast metal which prone to damage and can be easily broken
Here are the following steps to change the string of this type of fishing reel:
- Simple push a button or twist the face of the reel counterclockwise to remove the top part of the mechanics. Spin the handle to unwind any lines left.
- At the tip of the rod, insert your new line through the line guides towards your reel.
- Run the new line through the hole from the top part of your reel, but don’t attach the top part yet.
- Wrap the new line on the small hollow spot in the middle of your spool twice. Always ensure that the line you’re winding around the spool goes the same direction as your reel turns. Make sure to have enough line to tie.
- At the end of the line, make a simple knot so that it doesn’t come undone when you’re fishing. Knots like arbor knot, slip or clinch knot would work great.
- Use your index finger and thumb to apply pressure on your line while you’re spooling it into the reel. This will prevent your line from tangling in the future.
- Crank your reel handle to load the line.
- Spool the line until your reel has about 1/8inch line left below the spool’s rim.
- Return the top part cover of your reel.
- Cut down the remaining fishing line on the spool.
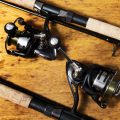
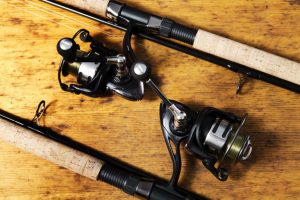
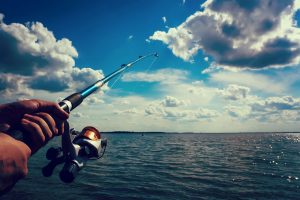
Spinning and Baitcaster Reel
Spinning and baitcasting reels have almost the same steps when it comes to changing the lines. The spinning reel is one of the most popular types of reels for anglers who are trying to catch medium-sized fishes like crappie, bass, and redfish. The reel is placed at the bottom of the rod and has a larger type of sized guides.
The Pros:
- Versatile
- Usually has solid construction
The Cons:
- Not effective when used with heavy lures
- Not as accurate as baitcasters
Baitcaster reels are mostly used by experienced anglers that want better accuracy and control. It’s durable and strong because it’s commonly used to catch bigger fishes. If you’re planning to try the baitcaster reel, make sure that you are willing to spend an entire season just practicing its casting.
The Pros:
- Best in accuracy and control
- Can handle stronger and heavier lines and lures
The Con:
- Needs a lot of time and practice to master the mechanics
Here are the steps on how to change the string of these two types of reels:
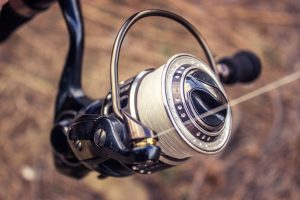
- Lift the wire arm and open the bail to unwrap any old lines left. (Baitcaster reels doesn’t have a bail so you can just skip this step.)
- Run your new line starting at the tip of your rod through the line guides. For baitcasting rods, you can do this with the small hole at the reel.
- Once you’re at the reel, wrap the tip of the fishing line over the spool. Bring the tip of the line towards your body then tie the lines together with a simple arbor knot.
- For spinner reels, lower the wire arm as further down as you can to prevent tangles then close the bail.
- Crank the handle of the rod so that you can check the rotation of the bail. Make sure that the line and bail rotate the same way. For baitcasting rods, have a friend hold the spool while you’re checking the direction of the line.
- Slightly grip the line using your index finger and thumb while maintaining pressure on the line while cranking the handle 15 to 20 times. Make sure that there are no tangles going through your reel.
- Check your line for any tangles by dropping it towards the ground.
- Fill your rod’s spool with the new line until it has about 1/8 inches left below the rim. Cut the remaining lines.
- Secure your line by using a rubber band to hold it in place.
Changing your lines is as important as maintaining the cleanliness of your rod and reel. Always cover your rods and reels while you’re traveling to prevent it from breaking. After your fishing trip, make sure to clean your reel and rod with fresh water to prevent it from corrosion and buildup of foreign chemicals.
Always remove any lures or hooks attached to your line so that you don’t damage your fishing line and rod covers. For long-term storage, loosen the drag line so that it won’t break from stress or while you’re in the middle of a fishing trip.
Conclusion
Putting a new line on your fishing reel can be a disastrous job if not done properly. If you’re a beginner in the world of fishing, it’s best to ask help from a friend who’s experienced. If you prefer changing your lines alone, make sure that you have all the materials that you need in an arm’s length and do a quick checklist on how to string a fishing reel.
Changing your line at least once in every season is important especially if you’re planning to become a seasoned angler. By constantly changing your line, you will have greater chances of catching fishes and lessen your exposure to tangles. Always follow the steps if you’re planning to change your lines so that you won’t have to do and re-do the lines over and over again.