How To Fish With A Fish Finder

At first glance, it might seem that buying a fish finder will solve the nagging problem of fishless days, but how to fish with a fish finder is not exactly intuitive, so let’s take a look at some best practices if you’re new the fish finder scene.
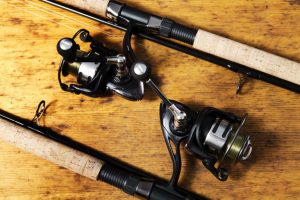
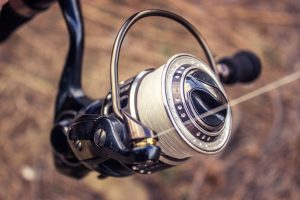
Buying The Right Fish Finder
First of all, before pulling the trigger on a fish finder and investing a good chunk of money, make sure you’re considering one that’s right for you. Some things to think about include the following:
- Is it in my budget?
- Does it do what I need it to do?
- What type of lake/pond do I regularly fish?
- Do I need a built in GPS?
- How will I mount it?
If you’ve taken all this into consideration when deciding on which is the best fish finder for the money, then congratulations!
Now let’s take a look at what to do with your newest fishing gadget.
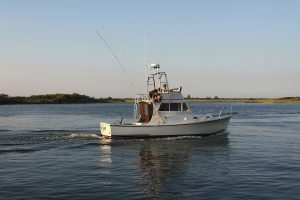
Fish Finder Basics
Your fish finder, sometimes called a depth finder, is nothing more than a sonar unit that is similar to those used on fancy boats and even military ships and submarines, only on a smaller scale.
All fish finders will tell you the depth of water you’re fishing in, and should show you the contours of the bottom as well.
How much of the bottom you see will depend on a couple of things; the frequency of the beam, and the cone angle.
The frequency is means how many pulses of “energy” leave the transducer, headed for the bottom, per second. Lots of fish finders nowadays use dual frequencies. We’re getting a bit technical here, but basically a higher frequency will work better in more shallow depths, with the lower frequency will penetrate further into the water and work at greater depths.
The cone angle refers to how much the sonar beam spreads out when it travels through the water. Think of an upside down ice cream cone.
Of course, the widest part of the beam will be when it’s furthest away from the transducer, in effect when it hits the bottom.
Just how much of the bottom you see will depend on which frequency you’re looking at on the depth finder screen. The higher frequency, most commonly 200 kHz, produces a pretty narrow beam that is good at finer details, like finder a school of fish or individual fish.
The lower frequency, typically 50 or 83 kHz, produces a wider picture of the bottom, but without the details the higher frequency will provide.
There are rules of thumb to figure out how much of the bottom you’re seeing, and you need to plug in your depth and transducer beam width. Let’s look at an example.
A beam width of 20 degrees is common for 200 kHz frequencies. The rule of thumb is to divide the depth by 3 to figure out the coverage. So, for a depth of 30 feet, you’d probably be looking at about 10 feet of the lake bottom beneath your boat.
A rough estimate, but something to go on.
For the lower frequencies, let’s assume a beam angle of 45 degrees. This is actually pretty easy, because the depth you’re at is generally how wide the cone is at the lake’s bottom.
As you can see, we can get pretty technical with this stuff. Let’s take a break from that.
Putting Theory Into Practice
There’s no substitute for experience, and the more you use your fish finder, the better you’ll get at interpreting the results.
It’s pretty easy to tell drop-offs and rock piles and other obvious pieces of structure, but it takes some practice to learn the difference between a mud bottom or gravel.
After a while you’ll be able to distinguish even the size of the fish you’re seeing, but again, this will take time.
Remember that your fish finder display will be scrolling from the right to the left, so the images on the right side of the screen will be the most recent.
When your boat is moving, this will make sense to you, but when you’re stationary it will just be the same display over and over again.
Different Depth Finder Displays
Depending on the model of depth finder you choose, you’ll see a number of different readings on your fish finder display.
A couple of standard readings are the depth you’re in at that particular moment in time, as well as the temperature of the water.
On some models, you’ll also get the speed you’re traveling at.
The bottom of the body of water you’re fishing in should show up as a line near the bottom of your screen. Generally speaking, the thicker the line, the softer the composition of the bottom is, because some of the sound waves from the transducer are actually penetrating the bottom. A softer bottom will absorb some of the sound energy and the echo return will not be as strong.
In Conclusion
Reading your depth finder will take practice, and at first you may be wondering why you ever invested in this high-tech gadget in the first place.
Don’t get discouraged too quickly. Your depth finder can be you best fishing partner, and can mean the difference between pulling in some trophies or just wishing you had invested in some technology.
Hang in there, and soon you’ll be able to see the underwater world that has previously been a mystery to you.